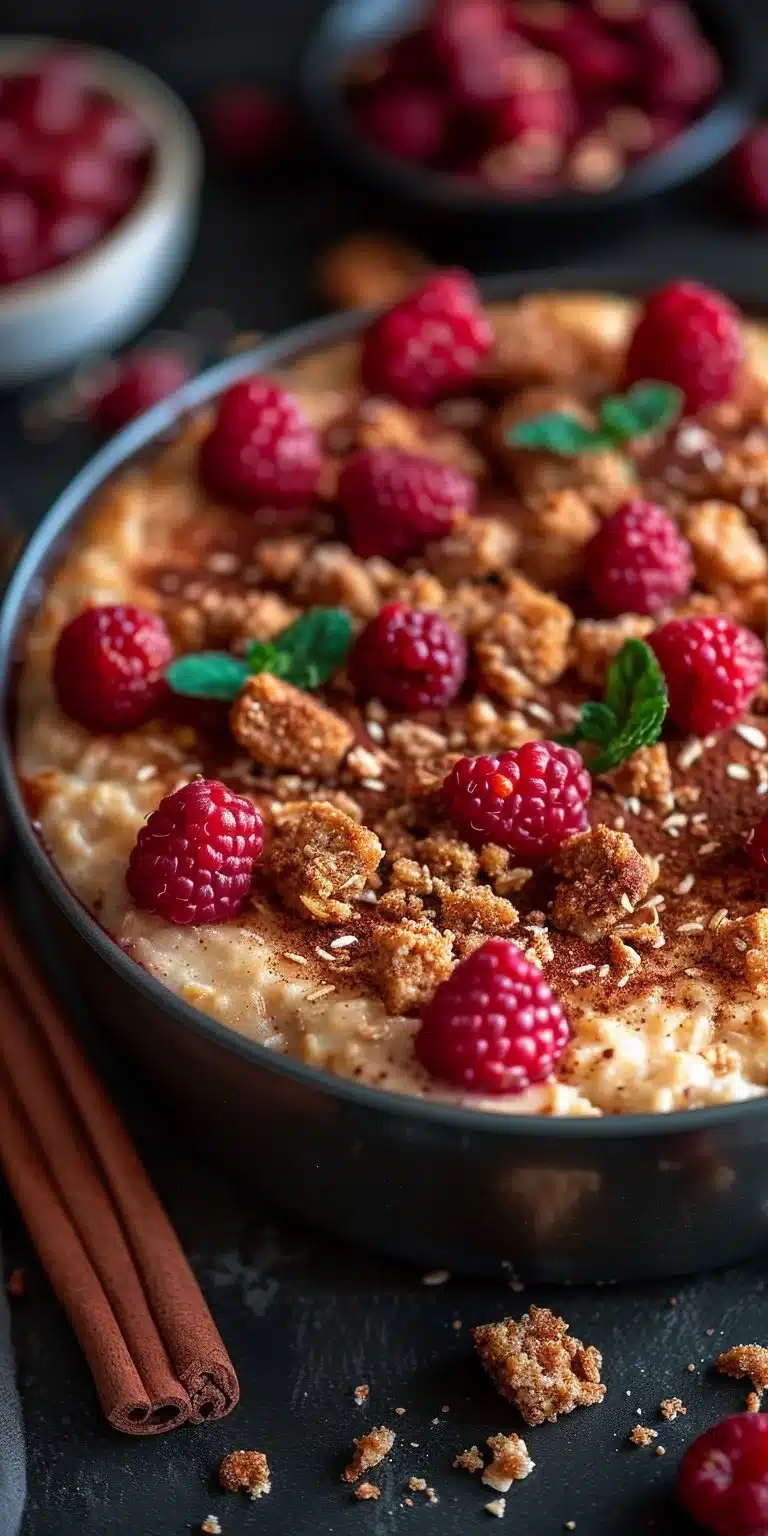
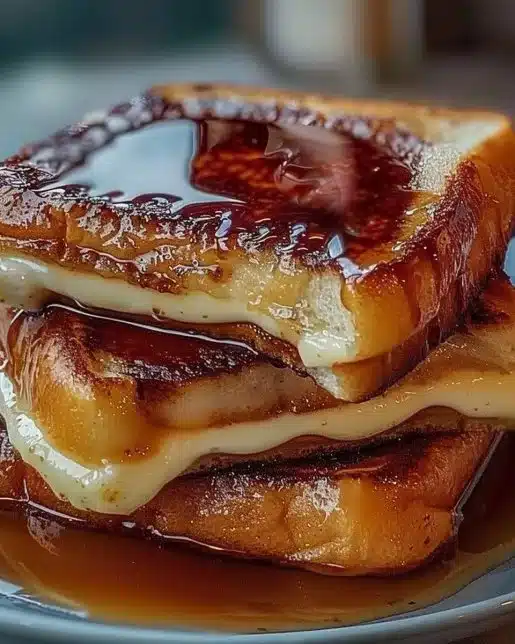
The Perfect Peach Pie: A Classic Summer Dessert Inspired by Bunny’s Warm Oven
There’s nothing quite like the comforting aroma of a freshly baked peach pie wafting through your kitchen. Whether you’re hosting a summer gathering or simply want to make the most of seasonal fruit, The Perfect Peach Pie from Bunny’s Warm Oven captures everything we love about this traditional treat: flaky crust, juicy fruit, and a sweet yet balanced flavor.
Table of Contents
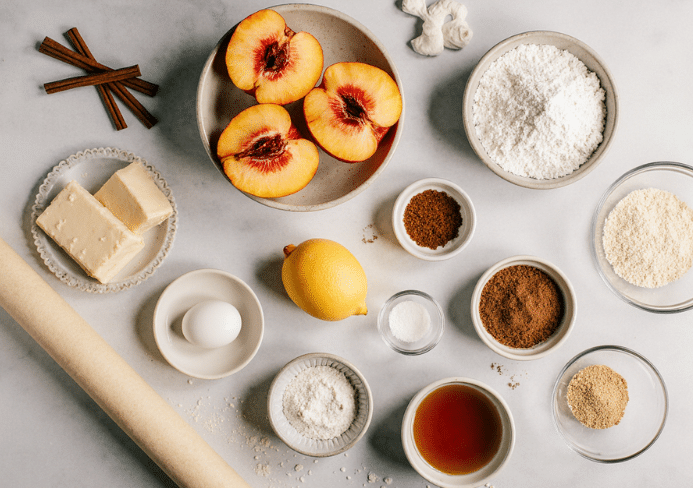
This homemade delight combines ripe peaches, a touch of cinnamon, and a buttery pie crust to deliver a dessert that’s as beautiful as it is delicious. Inspired by a neighbor’s generous gift of orchard-fresh fruit, Bunny’s take on this classic showcases the natural sweetness of the peaches rather than masking it with sugar. For those sourcing peaches, Peter’s Orchards is a fantastic family-owned option known for high-quality fruit and warm community ties.
Before diving into the process, it’s important to understand why every step—especially draining the fruit and layering ingredients thoughtfully—matters. If you’re new to fruit pies, this pie baking temperature guide can help you understand how to achieve the perfect crust and avoid a soggy bottom.
The Story Behind Bunny’s Peach Pie
The inspiration for this pie came from Bunny’s neighbor Michael, who returned from Peter’s Orchards in Gardner’s, PA, with a bounty of fresh peaches. His generosity prompted Bunny to bake her first homemade peach pie, and the result was so outstanding her son dubbed it “The Best Pie Ever Made.”
This isn’t just a pie recipe—it’s a story of community, seasonal inspiration, and the joy of sharing something homemade. What makes Bunny’s version exceptional is her careful attention to detail and her belief in letting the fruit’s natural flavor shine.
Choosing the Right Peaches
Perfect pie starts with the perfect peaches. For a truly juicy and flavorful pie, use fresh, ripe peaches that are slightly soft to the touch and fragrant.
Here’s what to look for when selecting peaches:
- Freestone peaches (the pit comes out easily)
- Slight give when gently pressed
- Bright, golden skin with a red blush
- Avoid overripe or mushy fruit
While frozen or canned peaches can be used in a pinch, nothing beats the taste of fresh seasonal produce for a pie that pops with natural sweetness.
The Importance of Draining Peaches
This step is non-negotiable. Once your peaches are peeled and sliced, you need to drain them for at least 10–15 minutes. Bunny collected nearly a quarter cup of excess juice when draining hers.
Why drain the peaches?
- Prevents a soupy or runny filling
- Helps the thickener (flour and cornstarch) work effectively
- Leads to a cleaner slice and better structure
Pro tip: drain your peaches in a colander over a bowl and let gravity do its work. Stir occasionally to help the juice release faster.
Crafting the Flaky, Buttery Crust
Whether you go the homemade route or use a store-bought version, the crust is crucial to delivering that classic pie experience.
Homemade Pie Crust Tips:
- Use cold butter for maximum flakiness
- Chill dough before rolling out
- Brush the bottom crust with a beaten egg to prevent sogginess
If time is tight, a quality refrigerated crust will still produce great results. Just be sure to vent the top and seal the edges well to avoid leaks.
Flavor Additions That Elevate the Filling
While the peaches do most of the talking in this pie, a few key ingredients bring out their best:
- White and brown sugar for layered sweetness
- Lemon juice to brighten the flavor and balance the sugars
- A touch of cinnamon to enhance the fruit’s natural warmth
- Flour and cornstarch to thicken without masking flavor
- Cold butter dots on top of the filling for richness
Sprinkle the top crust with raw sugar or a cinnamon-sugar mix before baking to add texture and sparkle.
Step-by-Step Assembly Instructions
Once your peaches are drained and crust prepped, it’s time to assemble your pie masterpiece.
Assembly Guide:
- Line a 9-inch pie plate with the bottom crust.
- Brush the inside with beaten egg to prevent sogginess.
- Toss the drained peaches with lemon juice.
- Combine flour, cornstarch, sugars, cinnamon, and salt in a separate bowl.
- Gently fold dry mixture into peaches.
- Pour filling into pie crust and dot with cold butter.
- Place top crust over filling, seal and flute edges.
- Cut slits for steam vents.
- Brush with egg wash and sprinkle with sugar.
Set the pie on a baking sheet to catch any drips before sliding it into the oven.
Baking to Golden Perfection
Start by baking at 450°F for 10 minutes, then reduce the temperature to 350°F and bake for an additional 30–35 minutes.
Watch for:
- Golden-brown crust
- Bubbling filling through the slits
- Use foil to tent the pie if the top browns too quickly
Bake times may vary depending on your oven, but the bubbling juices are a good indicator that your filling has set.
Cooling and Slicing Tips
Resist the urge to cut into your pie right away. Cooling is essential for clean slices and optimal texture.
- Cool the pie completely on a wire rack
- Refrigerate for at least 2 hours before serving
- For sharp cuts, use a serrated knife and wipe clean between slices
Common Mistakes to Avoid
Even seasoned bakers make missteps. Here’s what to avoid:
- Skipping the drain step, leading to runny filling
- Adding too much sugar, which overwhelms the peach flavor
- Underbaking or not allowing the filling to bubble
- Forgetting to egg wash the crust, resulting in pale color
Bunny’s Bonus Pie-Making Tips
Bunny shares these personal tips that make all the difference:
- Sprinkle the crust with raw sugar for a bakery-style look
- Place foil over the edges halfway through to prevent burning
- Always bake on a tray to avoid oven spills
Serving Suggestions and Pairings
A pie this good deserves thoughtful presentation.
- Top with vanilla ice cream or whipped cream
- Serve warm or chilled
- Pair with a hot cup of coffee or iced tea
- Enjoy leftovers for breakfast with yogurt
Creative Variations to Try
Want to make this recipe your own? Try these ideas:
- Add a splash of vanilla or almond extract to the filling
- Swap the top crust for a crumble topping
- Turn it into mini hand pies for picnics
- Use nectarines or plums for a twist
FAQs – People Also Ask
What is the secret to a good peach pie?
Start with ripe, fresh peaches, drain them well, and avoid oversweetening. Use a good balance of thickener and a flaky crust.
Do you peel peaches for peach pie?
Yes, always peel them. The skin can become tough and bitter after baking.
Why is my peach pie runny?
You likely didn’t drain the peaches or didn’t use enough thickener like flour or cornstarch.
How do you keep peach pie crust from getting soggy?
Brush the inside of the crust with a beaten egg before adding filling. Cool the pie completely before slicing.
Should peach pie be refrigerated after baking?
Yes. Once cooled, refrigerate the pie to help it set and stay fresh.
Final Thoughts
The Perfect Peach Pie isn’t just a recipe—it’s a seasonal celebration of summer fruit, love for baking, and the joy of sharing something made by hand. Thanks to the inspiration from Bunny’s Warm Oven, you now have everything you need to craft a pie that’s worthy of any family gathering—or a quiet afternoon with a fork and a smile.
Happy baking!
PrintThe Perfect Peach Pie: A Classic Summer Dessert Inspired by Bunny’s Warm Oven
- Total Time: 1 hour 15 minutes
- Yield: 8 slices 1x
- Diet: Vegetarian
Description
This classic double-crust peach pie features fresh sliced peaches, warm cinnamon, and a buttery golden crust. Perfect for summer gatherings or anytime you crave a fruity dessert.
Ingredients
- 1 package pastry for a 9-inch double-crust pie (or homemade crust yielding two crusts)
- 5 cups sliced peaches (peeled, about 1/2 inch thick)
- 1 egg, beaten
- 1 tablespoon lemon juice
- 1/4 cup all-purpose flour
- 1/4 cup cornstarch
- 3/4 cup white sugar
- 1/4 cup brown sugar
- 1/2 teaspoon cinnamon
- 1/4 teaspoon salt
- 2 tablespoons cold butter (cut into small pieces)
Instructions
- Preheat the oven to 450°F (232°C).
- Prepare the peaches: In a large bowl, combine the sliced peaches and lemon juice. Toss gently, then place in a colander and drain for 10–15 minutes to remove excess juice.
- Prepare the crust: Line a 9-inch pie dish with one of the crusts. Brush with a bit of the beaten egg to help prevent sogginess.
- Make the filling: In a separate bowl, mix together the flour, cornstarch, white and brown sugar, cinnamon, and salt. Add this mixture to the drained peaches and fold gently to coat evenly.
- Assemble the pie: Pour the peach filling into the pie shell. Dot the top with small pieces of butter. Cover with the second pie crust. Flute the edges, brush the top with remaining beaten egg, and cut 4 slits in the top to allow steam to escape. Optionally, sprinkle the top with sugar or cinnamon sugar.
- Bake: Place the pie on a baking sheet to catch spills. Bake at 450°F for 10 minutes. Then, reduce the oven temperature to 350°F and bake for an additional 30–35 minutes or until the crust is golden and juices are bubbling.
- Cool and refrigerate: Allow the pie to cool completely, then refrigerate for at least 2 hours before slicing for clean cuts and best texture.
Notes
You can substitute frozen peaches if fresh ones are not in season — just be sure to thaw and drain them thoroughly to avoid excess liquid in the filling.
- Prep Time: 30 minutes
- Cook Time: 45 minutes
- Category: Dessert
- Method: Baking
- Cuisine: American
Nutrition
- Serving Size: 1 slice
- Calories: 390
- Sugar: 34g
- Sodium: 220mg
- Fat: 16g
- Saturated Fat: 8g
- Unsaturated Fat: 7g
- Trans Fat: 0g
- Carbohydrates: 58g
- Fiber: 2g
- Protein: 4g
- Cholesterol: 40mg
Keywords: peach pie, summer dessert, fruit pie, homemade pie, flaky crust